3 min read

NetSuite Shipping: The Basics of Shipping with your Cloud ERP

NetSuite Shipping: The Basics of Shipping with your Cloud ERP
If you use NetSuite to manage your sales online, over the phone, or both, you’ll likely need to manage how inventory travels from your warehouse/location to the customer. NetSuite offers an extremely diverse and capable shipping and receiving module to help you offer your customers various shipping methods with flat rates or constantly updating shipping rates from the carriers themselves.

The first step to configuring shipping in NetSuite is to enable features that will allow your fulfillment team to easily mimic their fulfillment processes in the NetSuite workflow. This can be done on the Enable Features page at Setup>Company>Enable Features.

The Transactions tab provides you with a section of features dedicated solely to Shipping & Receiving:
  • Advanced Shipping: Select this tab if you want to keep separate records for each stage in the fulfillment and billing process (i.e. Item Fulfillments and cash sales/invoices).
  • Pick, Pack, and Ship: If you have separate stages for picking, packing, and shipping your inventory items before billing, then enable this feature. NetSuite will allow your warehouse employees to track inventory through various stages and mark orders picked and packed prior to sending them out the door.
  • Shipping Label Integration: Enabling this feature allows you to print FedEx, UPS, and USPS labels from NetSuite with an integration to your shipping accounts. Using thermal label printers or regular paper printers, you can now get the whole process done right from your NetSuite account.
  • Multiple Shipping Routes: If you’re a distributor whose customers want the items on their orders shipped to different locations, this feature allows you to do that. It even allows you to use different shipping methods per line item.
Once you’ve chosen your shipping options in NetSuite, you can start connecting your NetSuite account to your FedEx, UPS, and USPS shipping accounts at Setup>Accounting>Shipping. On this page, you can also set defaults and preferences for shipping.

Take special note of the Packages tab. If you repeatedly use the same size containers for shipping and want to fulfill items based on weight and size, you can create your default package preferences and then assign these packages to individual inventory items.

Setting up the Shipping Items is your next step, and it’s where you’ll set rates for shipping and handling as well as rules and locational restrictions. Navigate to Lists>Accounting>Shipping Items to view existing shipping options or create new ones.

On the Shipping Item setup page, NetSuite gives you the choice of how you want to calculate your shipping. Each item can only have one option selected, but you can set up multiple shipping items to accommodate the needs of your business and its customers.
  • Real-Time Rate: This option is only available if you have created your shipping account at Setup>Accounting>Shipping. With this feature, NetSuite will pull the rate directly from the shipping carrier based on ship to and ship from addresses.
  • Flat Rate: Charge a flat rate to every customer who uses this shipping method.
  • By Weight: Charge a flat rate per pound, ounce, gram, or kilogram.
  • By Item: If you choose this option, specify the item shipping rate on the item card and a default shipping charge in case an item does not have a shipping charge specified.
  • Percent of total: Charge shipping based on the order total.
  • Shipping Table: Choosing this opens a new set of options right beneath. You can select a range and how much to charge for shipping based on those ranges of order total and weight.

After setting your rates, scroll through the remaining tabs to indicate which account you’d like to use if you’re using integrated shipping labels, if you have any free shipping options, and if you want to offer this option to all countries or restrict it based on shipping location.

Finally, you can choose whether certain inventory items come with free shipping so orders including those items ship free.

Once you’re satisfied with your shipping item, save it and create new shipping items for each shipping option you want to offer your customers. Test out their functionality by creating a new sales order and choosing the shipping option or by heading to the checkout screen of your NetSuite web store. If you’ve set up the shipping item correctly, your shipping should be calculated based on a flat rate, order total, order weight, or shipping location.


If you want to get the most out of your NetSuite experience, contact the experts at Business Solution Partners for assistance implementing, integrating, and customizing the platform. 

Which Version of Oracle NetSuite Should I Consider?

Which Version of Oracle NetSuite Should I Consider?

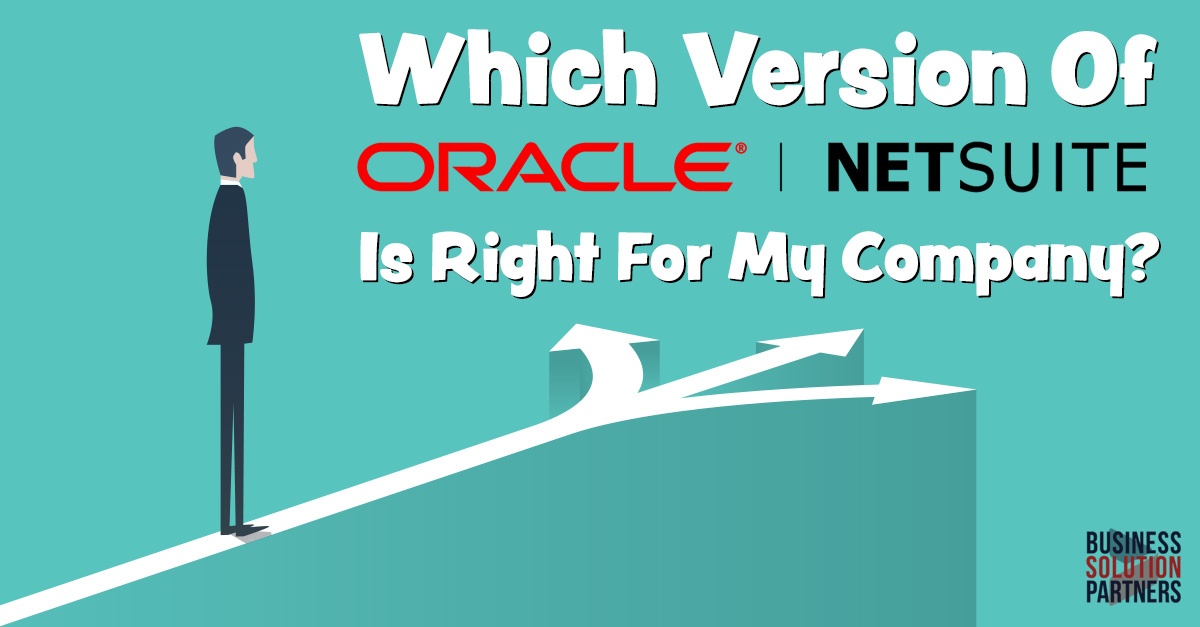
To decide which version of NetSuite is best suited for your company, there are several factors to consider... Here are three critical questions you...

Read More
BSP SHOT Show 2023 Wrap Up

BSP SHOT Show 2023 Wrap Up

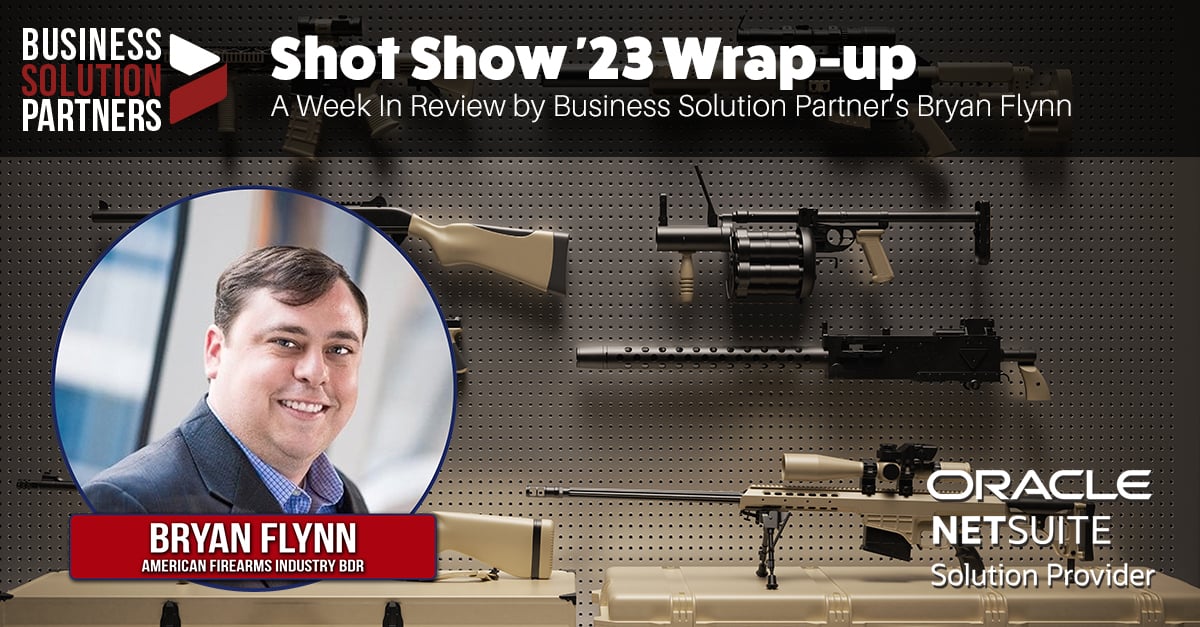
We were busy at SHOT show and are now fully recovered from our week in Las Vegas enjoying time with our friends in the firearms industry. Here's a...

Read More
NetSuite's Advanced PDF Functionality and Why You Should Be Using It

NetSuite's Advanced PDF Functionality and Why You Should Be Using It

NetSuite is a powerful cloud-based ERP system that provides businesses with a comprehensive suite of tools to manage their operations. One of the...

Read More